Friday 26 September 2014

Stampotique Get your Spook on

I stamped Owl Tree, Tree and Web and then used a web stencil and applied DecoArt Modelling paste and Liqutex Gel medium randomly
Once dry I used a variety of Dylusion sprays and dabbed back some areas with a wet wipe the gel medium acts as a resist and creates a lovely mosaic effect
I then stamped Angel and Pumpkins onto Tissue paper and applied with Americana Decou-Page creating a ghostly translucent effect

Tuesday 23 September 2014

Clarity Stamps Nature Challenge


 I've wanted to use the gorgeous little Chameleon Stamp for ages, and this was the perfect opportunity

I applied Americana Acrylics to the background of a tag shaded using Cadmium Yellow, Lemonade & Avocado dip

Then applied distress inks through the Clarity Double Sprig stencil Forest Moss and Chipped Sapphire

Then Peacock Feathers, Evergreen Bough, Pine Needles and Chipped Sapphire over the Seaweed Frame using the amazing Clarity stencil brushes

The Chameleon was stamped onto card and coloured with Promarkers and put on his favourite branch

Friday 19 September 2014

A Vintage Journeys new Challenge ‘The Colours of Autumn’

The Colours of Autumn Challenge

Make a project incorporating these beautiful colours, in a shabby vintage style

I love autumn my favourite time of year, such a beautiful season with an amazing array of colours, oranges, reds, rusts, browns through to pinks and purples, a bountiful time for many creatures preparing for winter, my Butterfly is preparing for hibernation in the leaves

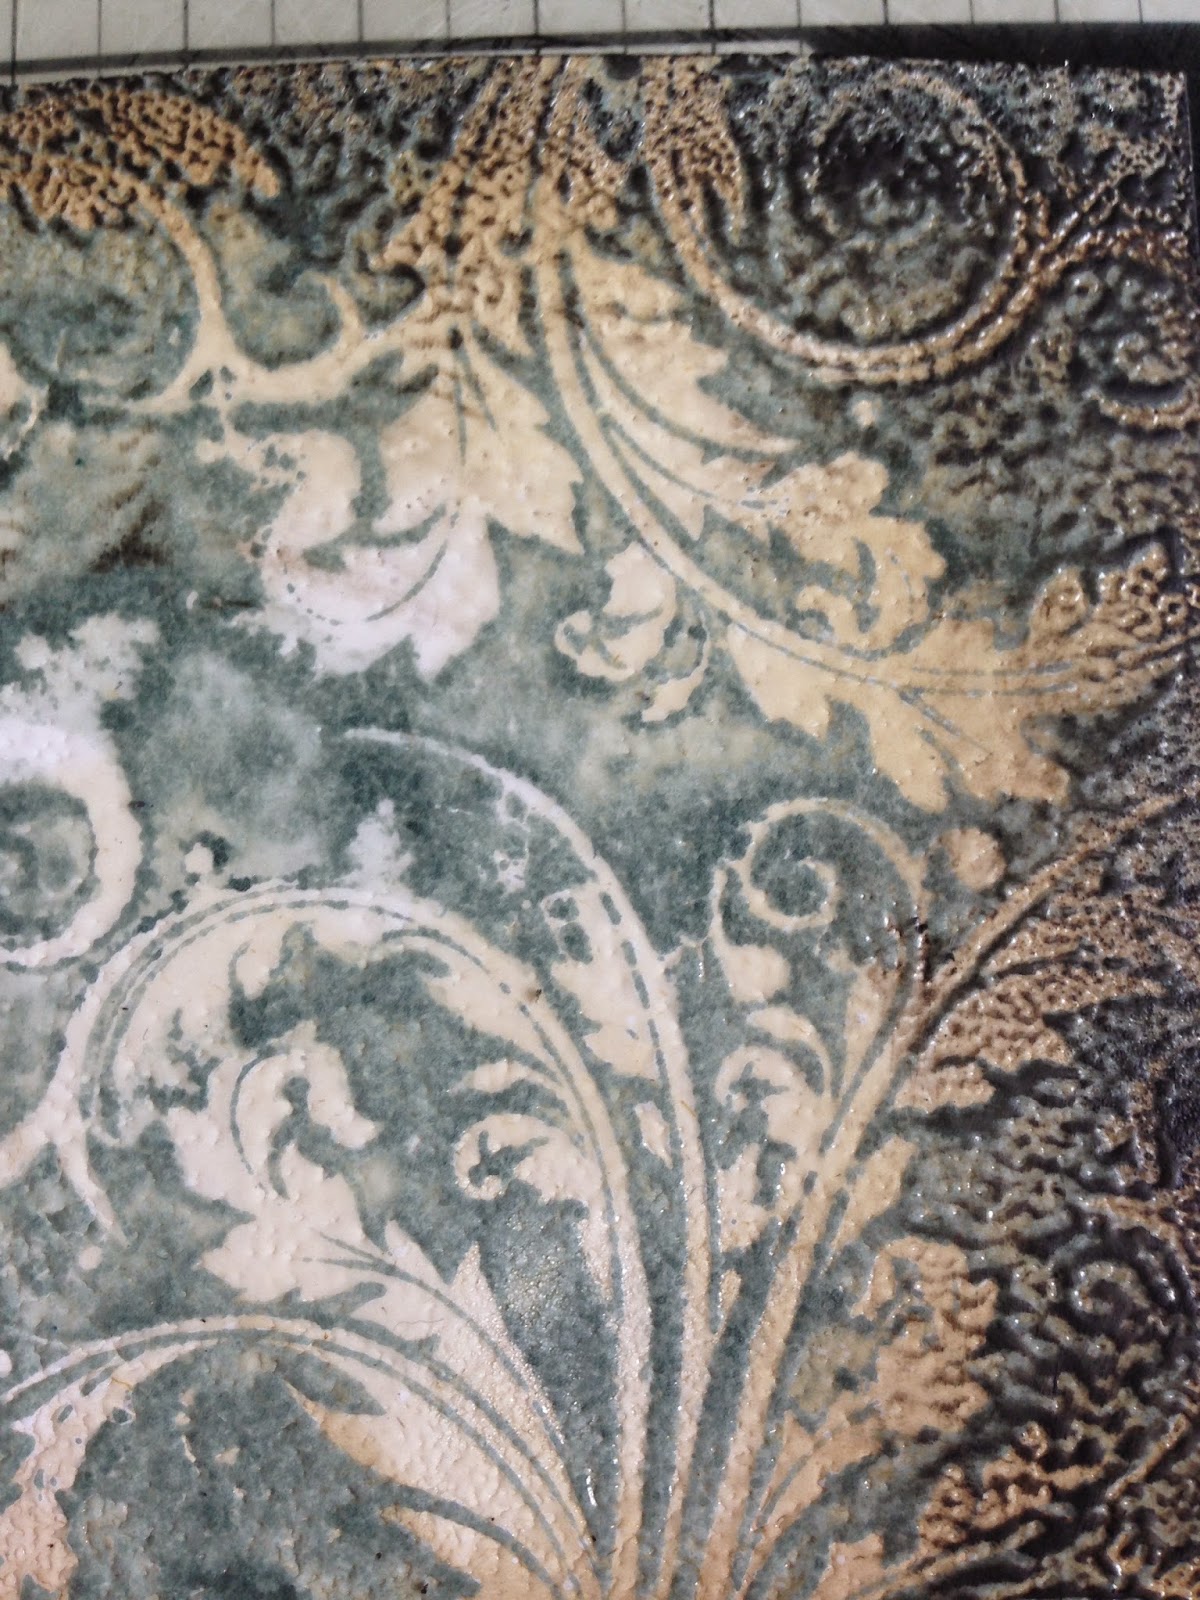
 I started by applying DecoArt modelling paste to a piece of chipboard, spreading approx. 1mm thickness and drying with a heat tool to form a skin then stamped into it with Tim Holtz falling leaves


Once completely dry, I fixed to the back panel of the case with Glossy Accents
I then applied a variety of embellishments metal & fabric flowers to the inside with a heavy based gel medium I wanted to soften the metal case edge, so applied a braid trim
The decorative element on top was further embellished with Tim’s Crown & Wings from the Regal Adornments
 The inside was painted by starting in the middle with the bright orange then adding Quinacridone Orange and Burgundy to the edges to achieve an inner glow

The outside of the case and details were  painted with Americana Plum and Dark Plum
and highlighted with the Burnt Orange and a mix of this and the Bright Orange

The butterfly was stamped onto Ranger speciality stamping paper, then coloured with Tim Holtz Adirondack Alcohol inks Purple Twilight, Raisen, Pink Sherbet, Cranberry, Mountain Rose and Wild plum
Dripping onto the paper which's takes the inks beautifully and keeps the vibrancy of colour
 Finished with a coat of DecoArt Media Ultra Matt Varnish

The small butterfly was cut from Tim’s Mini butterflies movers and shapers die using chipboard and painted with the oranges, distressed around the edges with Ripe Persimmon, Barn Door, Aged Mahogany distress inks
Covered with DecoArt Crackle texture and left to dry once the cracks appeared I applied Dark Plum to colour the cracks and wiped back the excess, the Papillon label was done with the same technique

I stamped the small leaves onto this paper too and coloured with Distress Inks Ripe Persimmon, Barn Door, Aged Mahogany and Seedless Preserve

I hope you have enjoyed my project, please check out the other Design Team Projects on
A VintageJourney and we look forward to seeing your Colour of Autumn projects
Jools :)

Thursday 18 September 2014

Stampotique One Stamp


I love using lots of Stampotique stamps on a project so this was a bit of a challenge
But a great excuse to use one of my favourite stamps Nether and lots of texture!

I started by applying modelling paste through a stencil onto a 4" x 4" piece of chipboard and the chipboard hearts based on Daniels Hearts

I then painted with Americana Lavender and Dioxadine Purple and then dry brushed the textures with Avocado Dip and Lemonade

The beautiful Nether was coloured with Promarkers and bleached out around the edges with alcohol solution and a distress tool

The spiky decoration was cut from tissue and coloured with peeled paint and Chipped Sapphire Distress inks

Friday 12 September 2014

Stampotique Birds and Animals

The cats in the bag & out of the bag!
I applied DecoArt Modelling paste to a Tando media board with a spatula
Dried with a heat tool until it forms a skin then stamped into it with a feather stamp
Painted with Aquamarine and dry brushed with Dioxadine Purple
I masked and isolated one of the Stampotique Kitty squad in the foreground, then covered with masking fluid
Over stamped the bag and masked this out too, then put the remaining kitties in the bag!

These were all coloured with Promarkers and distressed the edges with Peacock and Chipped Sapphire Distress Inks

Monday 8 September 2014

DecoArt Texture and Glass Media Canvas


A Canvas exploring the fabulous new DecoArt Media Texture Mediums and Media Fluid Acrylic Paints

I started by covering a 8'' x 8'' canvas with DecoArt Media White Gesso and a layer of modelling paste
Followed with Matt Medium to adhere the yarn and string forming the landscape outlines

I applied Modelling Paste which has great structure and retains amazing peaks and areas of Crackle Paste between the sections and randomly applied glass crystals
I left this to dry overnight but it does dry quicker you get the most incredible crackle effect, larger crackles the thicker applied

Followed with a coating of Gesso which has a fantastic viscosity and just glides on application with good coverage

 I started applying the Cobalt Teal and Cobalt Turquoise lightest at the top mixed with Titanium White, then applied Quinacridone Gold, Burnt Umber and Dioxadine Purple
 Gradually working and applying colours and mixing, I particularly like how the colours are so rich and vibrant, highlighting the textures beautifully
 I dry brushed the texture areas with Titanium White and then applied Quinacridone Gold to highlight and give more depth


The finished result has amazing textures, structure, crackle and lustre and I love how the rich colours worked on the Glass crystals giving a gemstone and metallic effect
For more infomation on the products used and the entire Media Range please click here


Saturday 6 September 2014

Stampotique Refresh It


Prom Queen & Mothloved are my first Stampotiques and I still love them!

I stamped them, then covered with masking fluid
Then stamped Daniels Hearts and masked these randomly

Then created a wash background with the following colours DecoArt Silver Sage, Shimmering Silver, Black Plum, Dioxadine Purple and Blueberry


Then removed the masking fluid and coloured in with Promarkers

Friday 5 September 2014

A Vintage Journeys Challenge- With a Flourish

Fabulous flourishes

A Vintage Journeys fabulous new Challenge is to use a Flourish
Inspired by the Tim’s ornate flourish which adorns the packaging and is available in stamps

A great Challenge to use a flourish, any flourish on any project

The background to the inside of the frame was done using Tim's enamelled stamping technique, I used Iced Spruce
Then covered with clear embossing powder, heated then blended with Antique Linen, Rusty Hinge and Walnut Stain Distress Inks covering the unstamped areas

Then embossed again, once dry I used Burnt umber to dry brush around the edge which really highlights the dappled enamel effect
The frame was covered with layers of tissue paper, stamped with the small Tim flourish from Shabby French Stamp set and applied with DecoArt Matt Medium
Then coloured with DecoArt Quin gold and Burnt Umber and touch of Carbon Black and wiped back in the centre to expose the detail

The flourish embellishment was painted with DecoArt Aquamarine and Burnt Umber and the highlighted with Dazzling metallics Glorious Gold


The small pen nibs, pen, flourish, and label were all stamped onto Tim's flourish packaging and distressed with Walnut Stain and Black Soot and coated with DecoArt Media Ultra Matt Varnish
The Ideo-Ology pen nib was coloured with alcohol inks, Butterscotch, Espresso
I hope you have enjoyed my Flourish project, please check out the other Design Team Projects on 

Jools :)